
Last year, I started getting the pictures on my phone printed. I wasn’t sure what I was going to do with them, but I knew I would rather have physical copies of them, plus I wanted to delete the photos off my phone.
I use an app called Free Prints (my code is hphillips254 if you want to get bonus free prints) and I get about 100 photos printed every month. When I placed my photo order for October, it said I’ve ordered 890 photos since I downloaded the app!
A few months ago, I spent an entire weekend going through all of my photos. These included albums I’ve had for many years — some of them were pictures from 6th grade which was 24 years ago for me. I also had photos my dad left for me and family albums dating back to 1950.
Not only did I sort the photos, but I also tossed several (the duplicates and ones that were blurry) and I set aside my travel photos and anything I’d want to put in a scrapbook.

I’d actually purchased a generic-looking scrapbook a few years ago because it was on major sale… I just needed to figure out what to do with it.
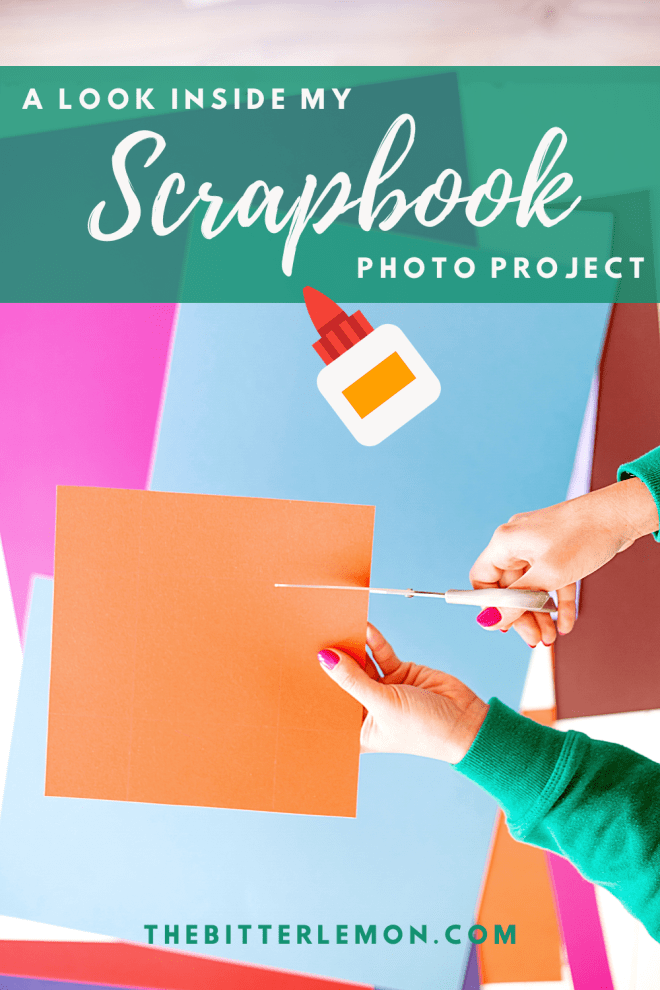
Once my photo project was done and all of my vacations were cancelled, I decided to venture to Michael’s and get scrapbook supplies.
When I was in high school, I actually worked at a small scrapbook shop. It had hundreds of different types of paper and stickers and adornments… It’s an entirely different world.
Although I’d seen people make scrapbooks over the years, I’d never tackled one myself… it can be overwhelming. I brought specific pictures with me and decided to stick to just those for now and I would do the scrapbook in chunks.

For example, I was looking for specific supplies for my ACL pictures and my fishing trip.
Despite my best efforts, I spent soooo long at the store. I started with the paper, and tried to find paper that would go with my pictures and would make sense as a spread, like in a magazine. I wanted my scrapbook to look nice, but also reflect the fun memories.
Once I nailed down my picks for the main paper, I realized I wanted to “mount” my pictures on paper that would complement the colors in the main paper. This was a whole other round of scouring the aisle.
Then, I moved on to stickers. I had paints and markers at home, but I knew it would look better if I used sticker letters and other stickers for decorations. I also took into consideration any other items I wanted to put on the page, such as ticket stubs or wristbands.

I kept laying out all of my items in the aisle so I could see everything together and make sure I had paper and stickers for every set of photos. I know it sounds like a lot, but I didn’t want to get home and realize I didn’t get enough supplies.
When I was ready to actually put things together, I laid out all of my supplies — the ones I bought and stuff I already had — and got to work.
I worked on one “spread” at a time. Some of my spreads were just two pages while others were four or six pages. It all depended on how many photos and other items I had.
I worked spread by spread and got a dozen or so pages done. Then, I gathered up my next batch of photos and went to Jo Ann instead of Michael’s to see if they had different options (they did). So, I did the same process with my new batch of photos.

When I work through it this way, it makes it a little more digestible — but a scrapbook is a huge undertaking!
If you’re looking for a craft for this year (or this week), it’s something to consider. It’s fun to put together and I’m happy that when it’s finished, I’ll having something to look through and remember these moments.
I still have about half of the scrapbook to fill, but I’m just going to keep at it, chunk by chunk. I might be going out on a limb here, but it’s kind of nice in a year like this to be looking back at the good times 🙂
To see more writing from me, be sure to subscribe to The Bitter Lemon by clicking “subscribe” on the right side of your screen. Want even more? Subscribe to my newsletter to get roundups, book recs and lifestyle tips.

What a classy, fun scrapbook!!
Thank you!!