
The following post contains affiliate links, which sends me a small percentage of any sales at no cost to you.
Last week, Banish sent me the Banish Kit 3.0, hoping I’d share my honest review. I’ve used Banish products before, and I love not only their products, but what the company stands for (having skin confidence no matter where you’re at).
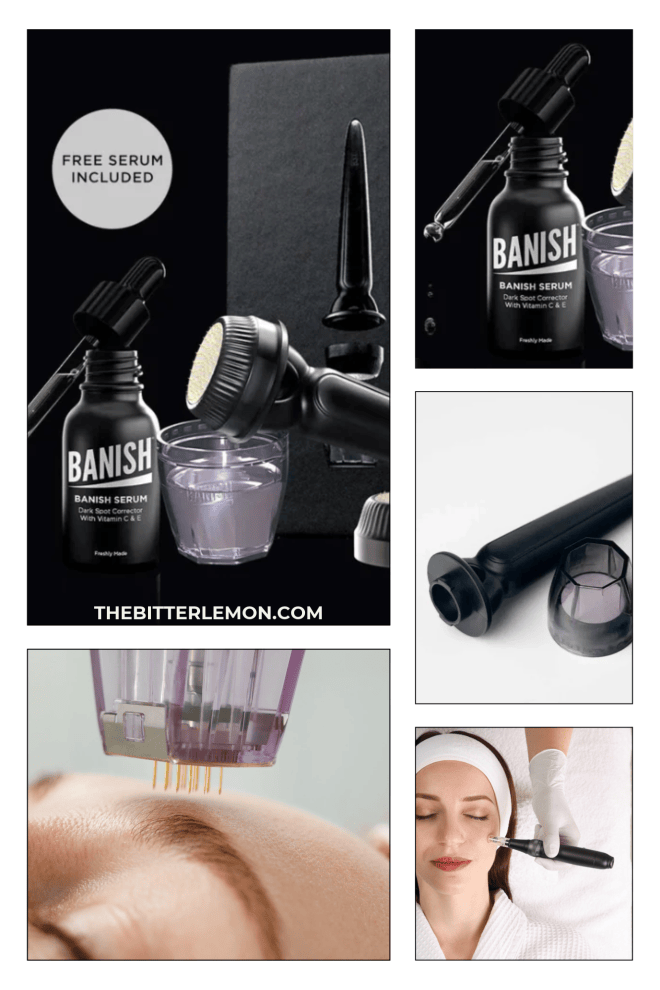
The Banish Kit 3.0 is a dermatologist-recommended at-home microneedling kit that helps reduce the appearance of acne scars, minimize the appearance of pores, smooth texture, support collagen, and reduce dark spots.
It includes the Banisher 3.0: a patented microneedling stamp with 0.5mm gold-plated titanium bristles thinner than a human hair, and the Banish Serum, a freshly made vitamin C serum. Up to 16 sessions per kit.
I was particularly interested in trying this because I tried at-home microneedling before, using a dermaroller about seven years ago. I honestly can’t recall any crazy results, but I was always paranoid about keeping it clean and using it correctly.
At some point, I tossed the dermaroller, but I still love at-home skincare, and I will always try just about anything I can to keep my skin healthy on a budget.
As I approach this new-to-me product, I’m specifically looking to address skin texture and signs of aging. As I mentioned, this is just my first impression after using the kit for the first time!
What is the Banish Kit 3.0?
For starters, what the heck is microneedling?
It’s a minimally invasive procedure that uses fine, sterile needles to puncture the top layer of skin. This triggers the body’s natural healing response, so the skin produces more collagen and allows products (such as serums) to penetrate deeper.
The Banisher 3.0 is the main microneedling tool Banish created and patented. The Banisher 3.0 uses a precision stamping design with 0.5mm gold-plated titanium needles to create clean, uniform microchannels.
The tool’s thin, gold-plated bristles make it safer and reduce the chance of scarring. Using a stamping tool instead of a roller means you apply even pressure to each needle.
The Banisher uses 0.5mm gold-plated titanium bristles and a stamping motion. Banish markets it for acne scars, enlarged pores, uneven texture, and dark spots. Up to 16 Sessions
What’s included in the Banish Kit?
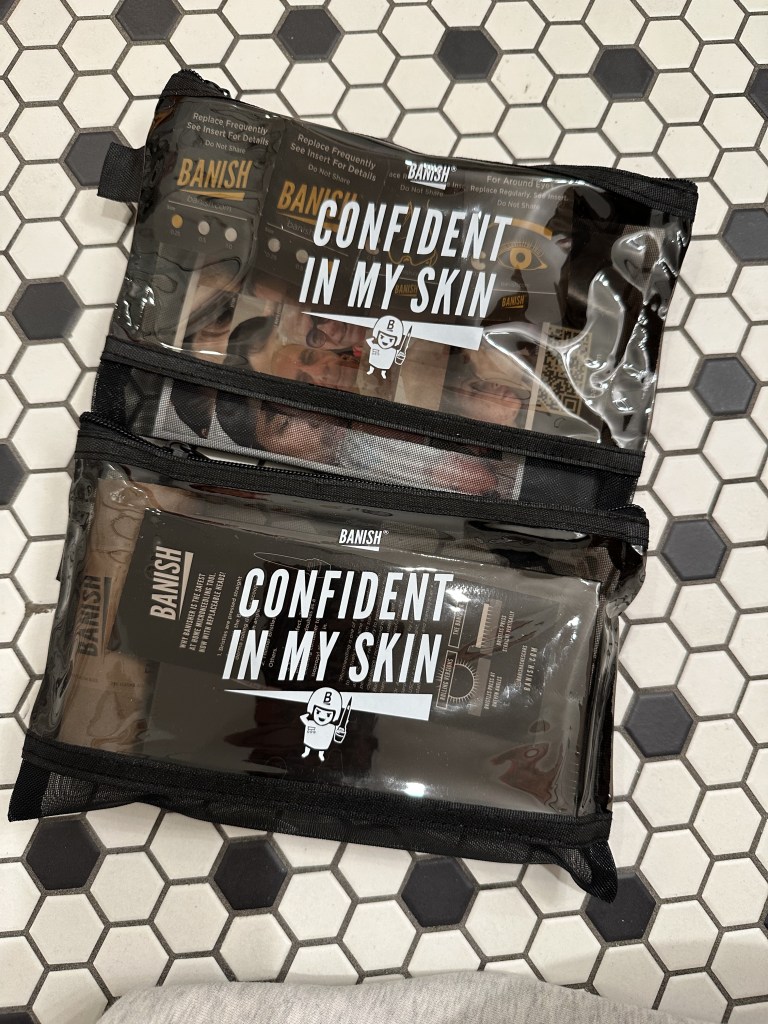
The Banish Kit includes:
- Banisher 3.0 microneedling stamp
- Two replaceable 0.5mm heads
- Banish Dark Spot Corrector Serum
Use the Banisher 3.0 once every two weeks, and replace the head after 8 partial-face sessions or 4 full-face sessions. So, one kit will last 16 partial-face sessions (32 weeks) or 8 full-face sessions (16 weeks).
My first experience using the Banisher 3.0
The kit comes with instructions, which start with properly cleaning the head. I had to get the right alcohol, but once I had that, it was smooth sailing.
Like I said, I’ve done microneedling at home before, but it’s been several years. I was excited to try this and get into a routine.
Using the stamp was easy! It feels natural to hold it, and the stamping motion is intuitive. It is a little uncomfortable (which is to be expected, right?). I wanted to do my whole face, so I turned on a podcast and just took my time.
But the entire process took around 10 minutes. Some areas felt more sensitive, especially my forehead and chin—areas that aren’t as “plump.”
After stamping, I applied the included serum, a medium-weight, clear serum. It stung a bit when I applied it, but my skin calmed down after about 20 minutes.
Once the stinging stopped, I applied my usual under-eye cream, left everything else as is, and went to sleep.
How did my skin look and feel the next morning?
As soon as I wokeup, I felt my skin – ha! It honestly felt really hydrated and smooth. It was still a little red when I looked in the mirror, but I wasn’t feeling any pain or tenderness.
I didn’t notice much of a difference otherwise, but I’m always happy when I wake up with skin that feels hydrated!
What results can you realistically expect?
Remember, microneedling isn’t an overnight treatment, and it takes consistency over time. Banish’s suggested timeline includes:
- Next day: possible plumper-looking skin.
- 1–2 weeks: possible improvement in brightness.
- 4–6 weeks: potential changes in fine lines and acne scars.
- 8–12 weeks: more noticeable improvements in texture and firmness.
These are the brand’s stated expectations, not guaranteed results. I’ve put a note in my calendar to report back after 8 weeks on my personal results (I also took some “before” pictures of my skin!).
Things to know before trying at-home microneedling
No matter what kind of microneedling tools you go with, it’s important to:
- Follow the manufacturer’s sanitation instructions.
- Replace the needle heads as directed.
- Avoid use on active acne, rashes, or irritated skin.
- Understand that microneedling isn’t appropriate for everyone.
- Consult a dermatologist if you’re unsure whether it’s suitable for your skin.
Microneedling isn’t quite the same as applying another serum or moisturizer; it’s more invasive. There are real skin-injury and infection risks with at-home needling.
My initial verdict: Would I use the Banish Kit again?
So, am I going to use the Banish Kit again? Yes!
I found it easy to use, clean, and store, and I’m looking forward to seeing whether I get positive results.
My biggest challenge is consistency, so I’ve put a note in my planner to use it again in two weeks and then regularly for the next 8 weeks, when I report back.
I’m hoping my skin will look plumper and more youthful in 8 weeks.

