

The following post contains affiliate links, which sends me a small percentage of any sales at no cost to you.
I’ve been coloring my hair for two decades — brown, dark brown, several shades of red and pink… and I’m currently in a blonde-pink-ish phase.
I love my colorist; she’s done a great job safely removing the red from my hair and lightening it in a way that looks more natural and has depth.
When I see her, I get a pink gloss on my hair that gives it a good tint. However, any semi-color washes out between visits, even if you wash sparingly!
For the most part, it doesn’t bother me. I like the way the fresh tint looks, but I also like how the lightened blonde looks.
But I’ve been seeing more color-depositing products lately and I wasn’t to try something that would give my hair a little pink between salon visits.
After searching high and low for the right product (I read SO many reviews), I purchased the Kristin Ess Rose Gold Temporary Tint.
Before I get into my review, I’ll say that I was looking for something that was affordable (I didn’t want to pay a lot of money in case I didn’t like it) and easy to use.
I bought the Temporary Tint based on customer reviews, the price ($16), and after researching a little on how to properly use it.
This is an in-shower temporary pink hair color. According to the bottle (and on the Kristin Ess website), there are a few different methods you can take with this. A lot of it depends on your hair and how it accepts color.
The fact that you apply this color to wet hair adds to the “tint” factor. I think setting expectations is important when it comes to hair and beauty products.
For me, I do have lightened hair, so I knew the color would show up, but I also was not expecting anything rich or super vibrant — really just looking for a fun hint of pink.

I have now used this product three times and approached it a little differently. For example:
The first time I used it, I followed one of the suggestions on the bottle, which was to apply it after shampooing and before conditioning.
I took a mirror in the shower with me, shampooed per usual, then sprayed the color on. I was pleasantly surprised to find that it didn’t get everywhere (I held the bottle pretty close to my hair). I sprayed it on the top of my hair, which was kind of slicked back from rinsing the shampoo, and left it on for about two minutes (admittedly, I didn’t have a timer).
I rinsed the color and then used my conditioner, all per usual. I let my hair air dray and noticed the color — I thought it looked pretty great for my first time!
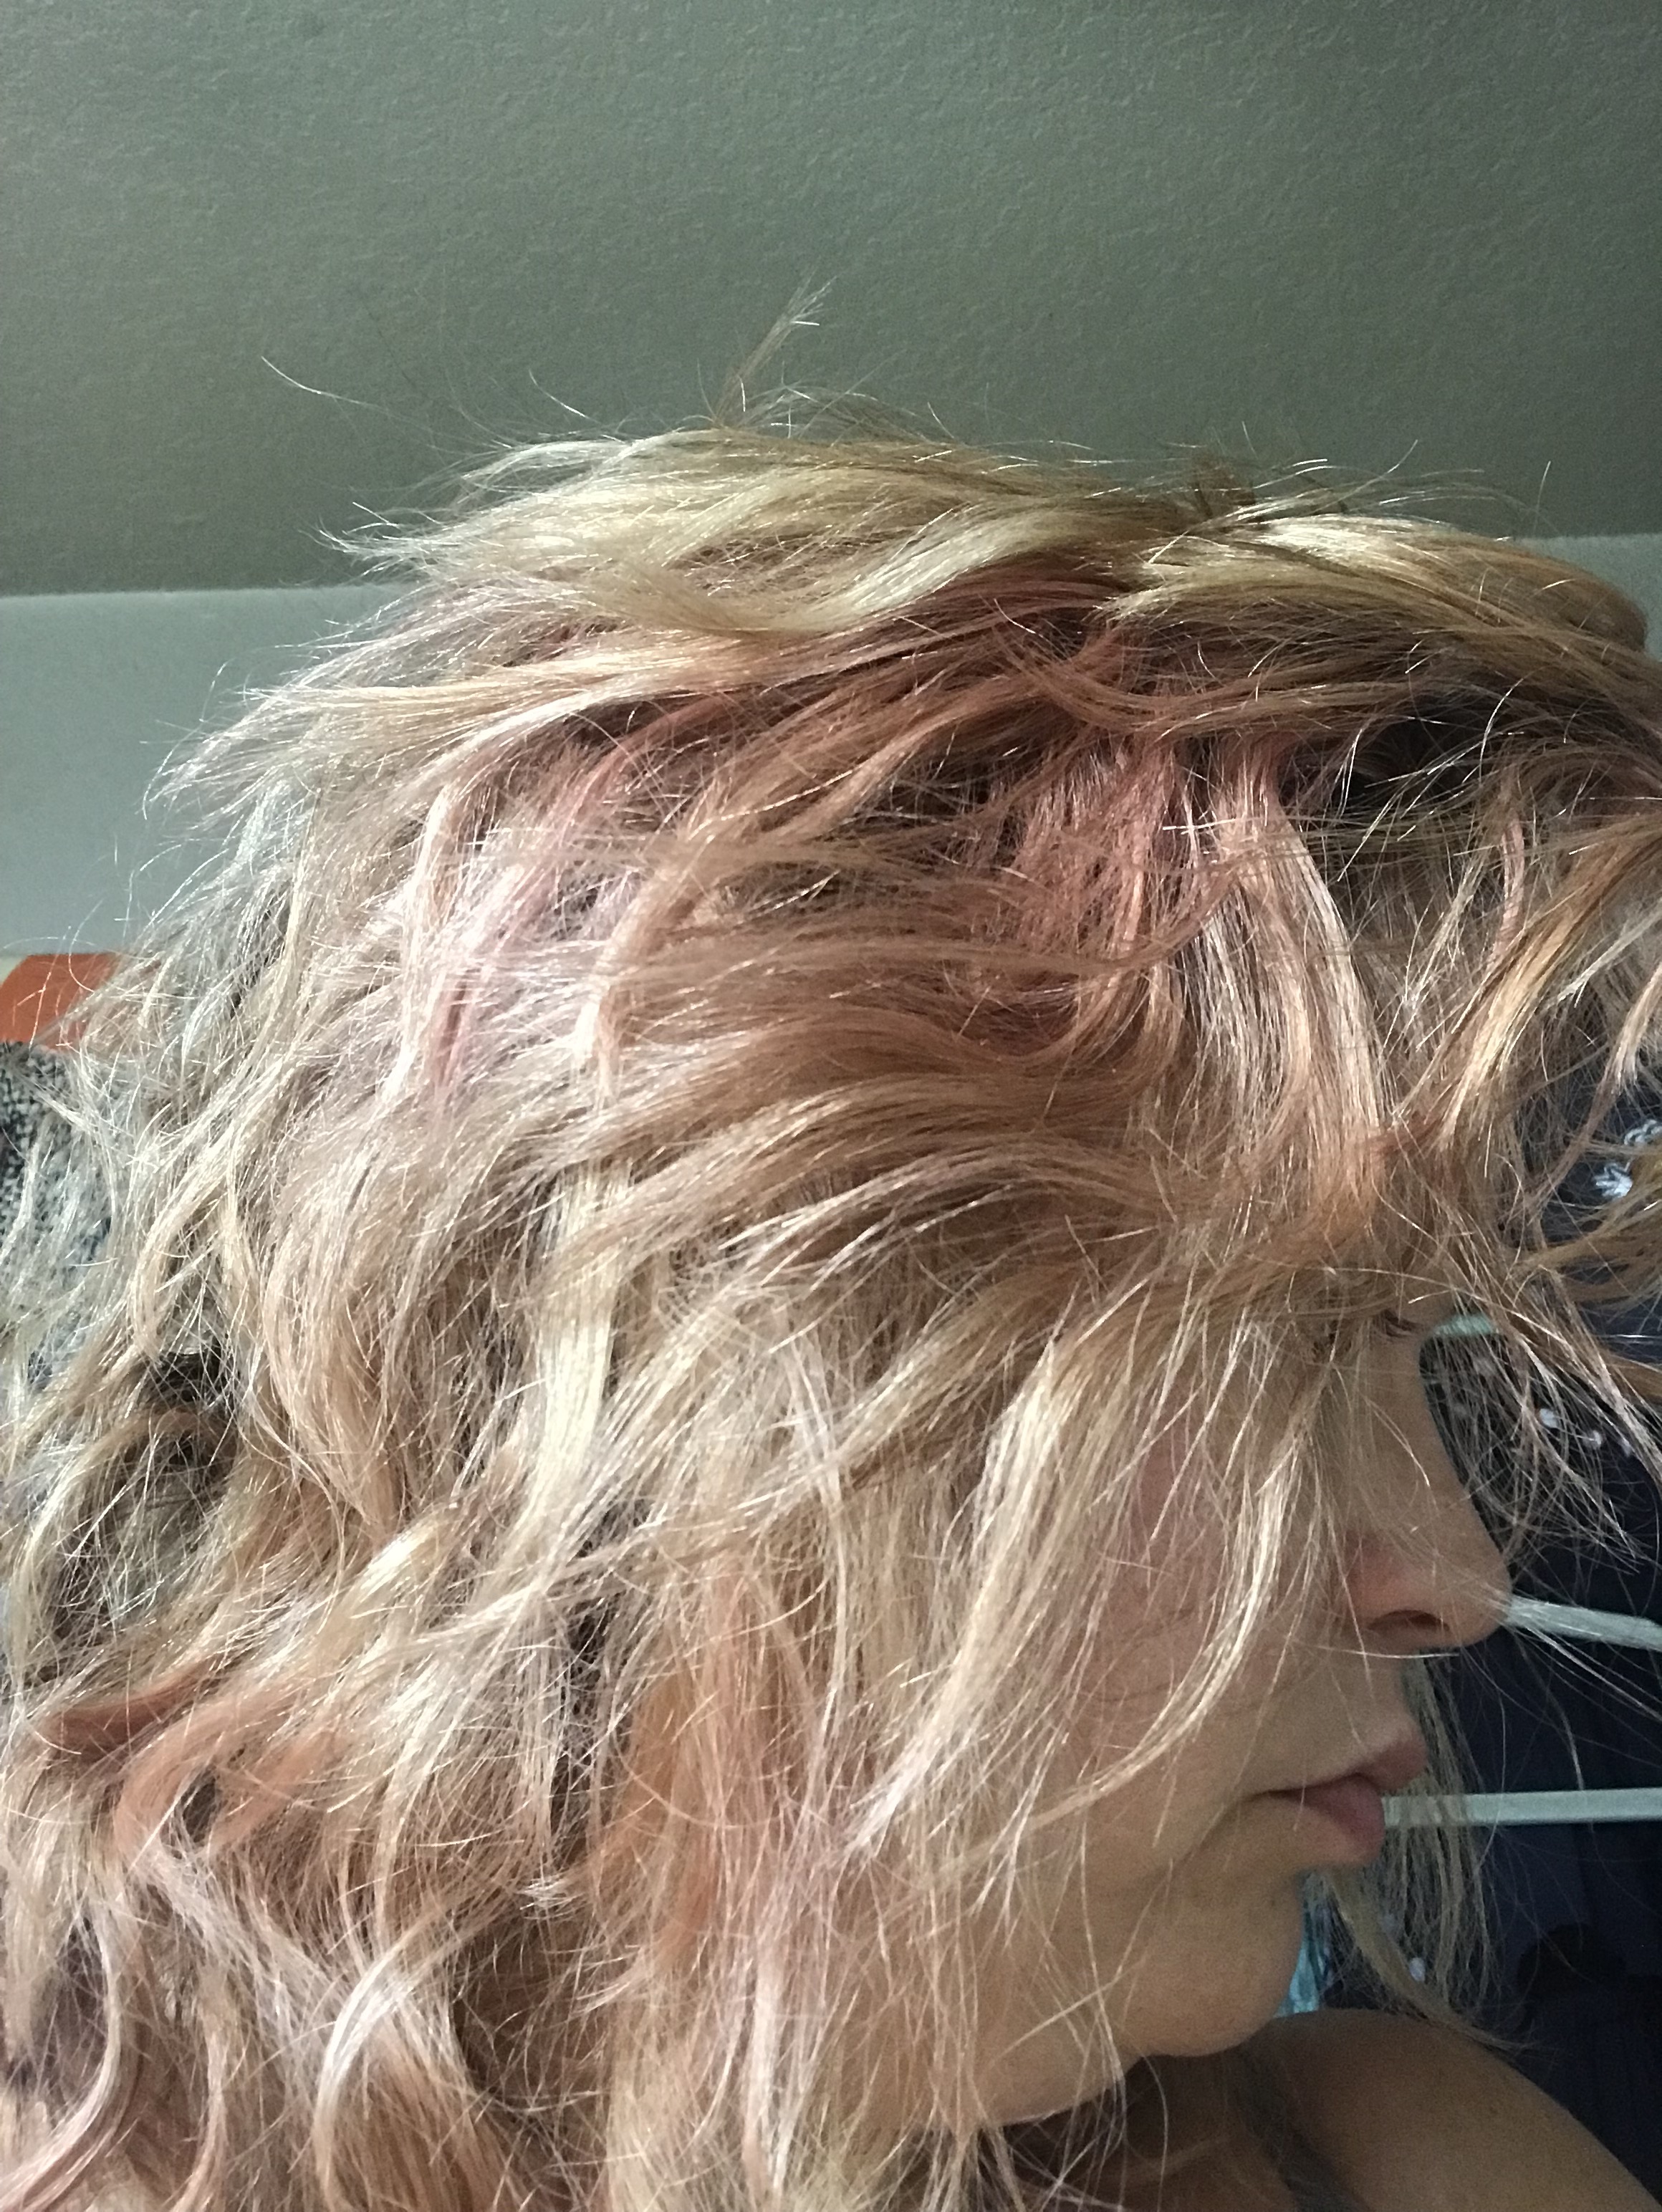
I really didn’t use much color (only a few sprays) and it was visible, but only in certain places, likely since I held the bottle so close and didn’t comb my hair or anything.


The second time I used it, I sprayed the color into my conditioner. This was sort of fun to see the color but it didn’t really reflect in my hair. I should note that this is not a recommended way to use the tint; it was just an idea I had 🙂
The third time I used it, I was in the bath. I followed my initial method, but I waited much longer after shampooing and tried to squeeze out any excess water from my hair before applying the color.


I also had a comb and a timer this time, in addition to my mirror, so I felt like I was able to apply it a little more evenly. I kept it on for two minutes, rinsed, and then conditioned.
The color looked a little more distributed this time! I do think it’s a product that takes practice, which I’m fine with. If you have someone that can help you, that might help, too.
Generally speaking, I’m impressed with this product. I’ve used it three times now and it still feels like a full bottle. It washes out in one wash (for me, anyway) so it’s truly a temporary option, which I love — use it for a night out, vacation, etc.
If you use any color-depositing products, I’d love to hear about them!
This beauty review is not sponsored — nor are any of the reviews on this blog. I am a beauty and skincare junkie and enjoy sharing the products I love right here! For more reviews and similar posts, please subscribe to the blog by clicking subscribe on the right side of your screen. Cheers!
